




 AuthorYun Zhang JohnCategoryBreadDifficultyBeginner
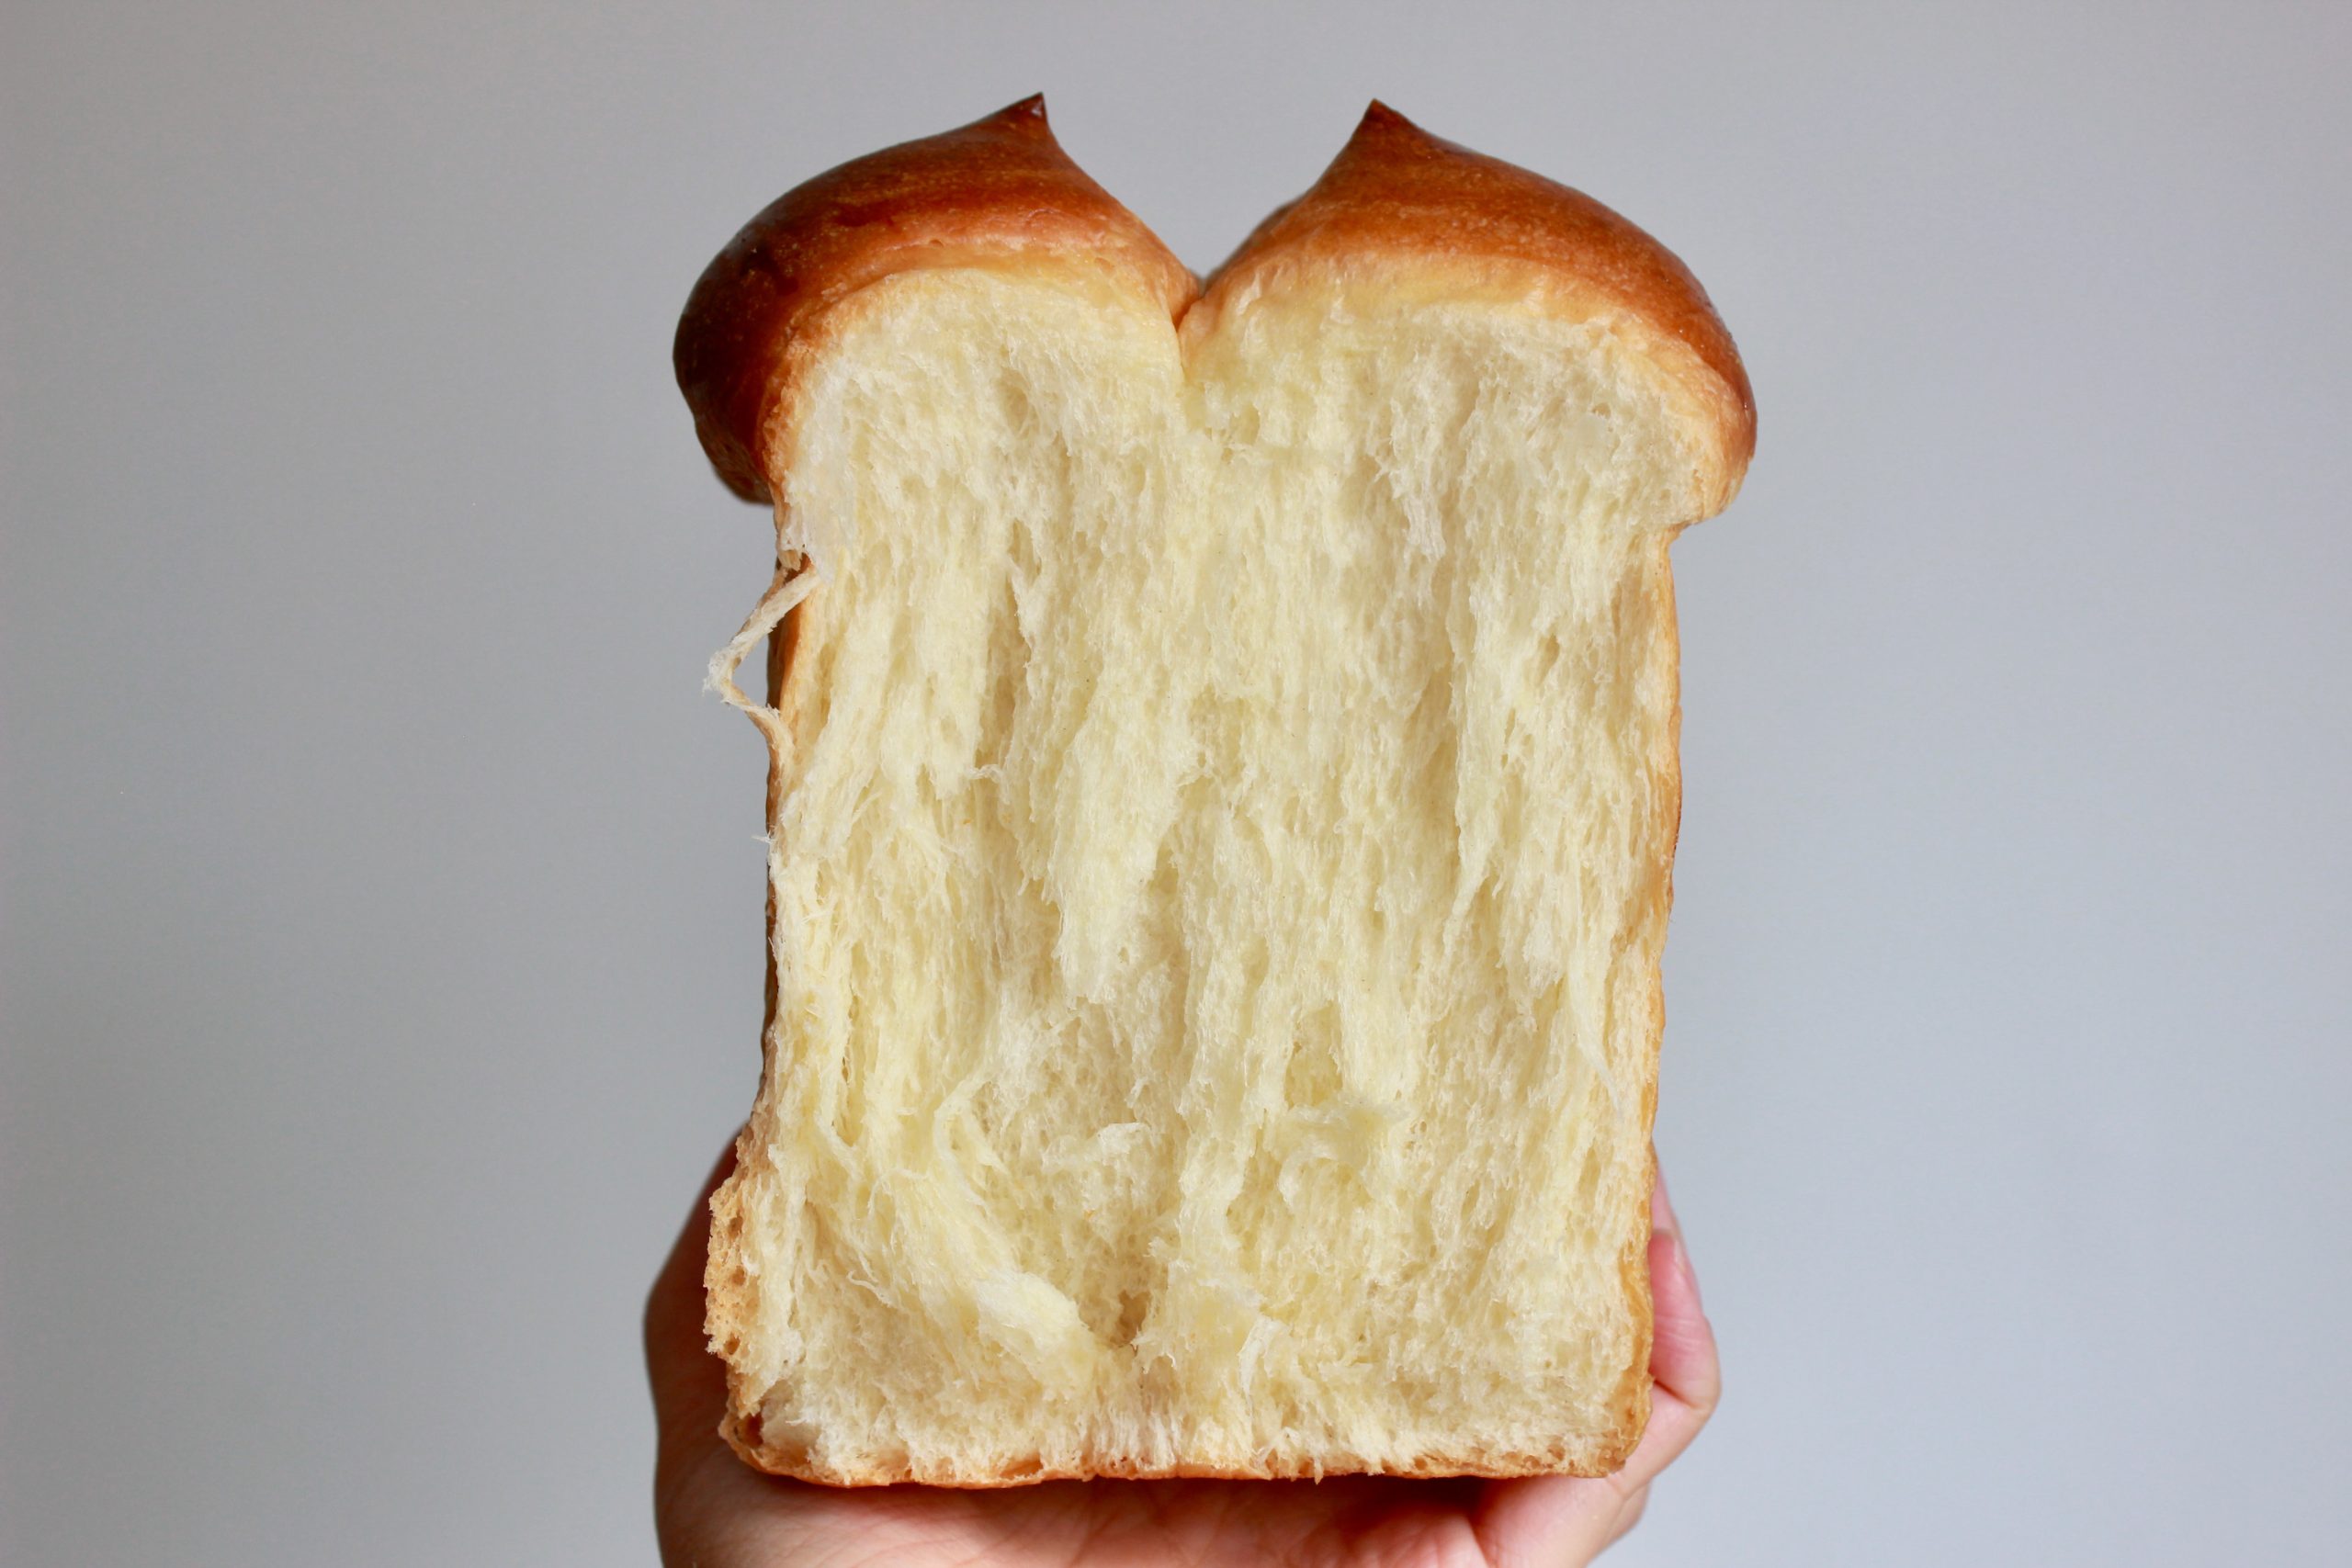
Brioche hotel bread is a delightful twist on traditional brioche, characterized by its soft, tender crumb and rich, buttery flavor. Perfect for breakfast, brunch, or even as a base for sandwiches, this bread is a true crowd-pleaser. In this post, we’ll take you step-by-step through the process of making this wonderful bread, complete with tips to ensure your success.
What is Brioche Hotel Bread?
Brioche hotel bread is a variation of traditional brioche, featuring a slightly sweeter flavor and a soft, pillowy texture. It’s made with a higher fat content, usually from butter and eggs, which gives it a rich flavor and an airy texture. The term "hotel bread" refers to its uniform shape and size as it's often baked in a loaf pan, making it ideal for serving at hotels and restaurants. Ideal for everything from simple toast with butter to gourmet sandwiches and decadent French toast.
It has a very similar flavour and texture profile to Japanese Milk Bread - Shokupan, just with loads more butter.
Tips for a Blissful Bake
- Use Quality Ingredients: When it comes to butter and eggs, opt for the good stuff. It makes all the difference.
- Rising Time Matters: Don’t rush those rises! Allow the dough to fully puff for the best texture.
- Storage: Enjoy your brioche hotel bread at room temperature for a few days, or wrap it tightly and freeze for up to a month.
Brioche hotel bread is incredibly versatile! Serve it plain, slathered with butter and jam, or use it for French toast or bread pudding. For a savory twist, try it as a base for gourmet sandwiches or sliders.
Making brioche hotel bread may take some time and effort, but the results are well worth it. With its soft texture and rich flavor, this bread is sure to impress your family and friends. So roll up your sleeves, gather your ingredients, and enjoy the process of creating this luxurious treat right in your own kitchen! Happy baking!
You Will Need
190 g Milk
30 g Sugar2 tbsp
5 g Salt1 tsp
2 Egg yolksReserve whites as egg wash
20 g Milk powder
7 g Active dry yeast1.5 tsp
40 g Butter
20 g Butter for toppingDivided into 4 pieces
Instructions
Prep the dough
1
In a large mixing bowl, combine milk, milk powder, sugar, egg yolks, and the yeast and stir with a spatula to mix and dissolve. Then add in the flour and salt and mix until a shaggy dough begins to form. If you’re using a stand mixer, attach the dough hook and mix on low speed for about 5 minutes.
2
Now it’s time for the butter! Add the softened butter and mix until the butter is fully incorporated. The dough will be sticky and may seem loose at first, but this is normal.
If you’re kneading by hand, transfer the dough to a lightly floured surface and knead for about 10 minutes, incorporating the butter as you go. The goal is to develop gluten, which will help the dough rise and give it structure. If using a stand mixer, continue kneading on low speed for about 10-15 minutes.
3
Sometimes, you may notice that even after several minutes of kneading, the dough is just too shaggy and wet, you can adjust this by adding one tablespoons of flour in until the dough starts to pull away from the bowl.
4
To check if your dough is ready, perform the "windowpane test." Take a small piece of dough and stretch it gently. If it stretches thin enough to let light through without tearing, you’re good to go!
First rise
5
Once your dough is ready, form it into a smooth round ball of dough and cover it with plastic wrap or a clean kitchen towel to keep it warm. Let it rise in a warm spot until it doubles in size, about 1 to 2 hours. A good trick for creating a warm environment is to place the bowl in an unheated oven with the light on.
Shaping the loaf
6
After the first rise, gently punch the dough down to release any trapped air. Turn it out onto a lightly floured surface and divide it into 4 equal pieces. Shape each piece into a smooth ball by tucking the edges under. Leave the balls to rest for 5-10 minutes.
7
After resting, take each of the balls of dough and roll it out into a long oval. Then fold the sides in and roll out again into a long rectangle, finally roll the rectangle into a cylinder as tight as possible and pinch the ends to close. And nestle each cylinder roll into your loaf tin. They should find snuggly together.
Second rise
8
Cover the loaf pan again with plastic wrap or shower cap. Let the loaf rise for about 1 hour, or until it has doubled to almost tripled in size. During this time, preheat your oven to 350°F (180°C), so it’s ready for your beautiful loaf.
Egg wash and final touches
9
Once the loaf has properly risen, brush the tops generously the egg whites we had left over from making the dough. This will give your bread a lovely, glossy finish.
10
With scissors, cut across each of the rolls of bread and insert a pad of butter in between the creases.

Baking
11
Place the loaf in the oven and bake for 25 to 30 minutes. Half way through the cooking time, you may want to tent the top of the loaf with tinfoil to prevent over-browning. You’ll know it’s done when the top is golden brown and the bread sounds hollow when tapped.
12
After baking, remove the loaf from the pan and transfer to a wire rack to cool for 10 minutes. Allowing it to cool properly is essential to prevent a gummy texture when slicing.
Ingredients
190 g Milk
30 g Sugar2 tbsp
5 g Salt1 tsp
2 Egg yolksReserve whites as egg wash
20 g Milk powder
7 g Active dry yeast1.5 tsp
40 g Butter
20 g Butter for toppingDivided into 4 pieces


